3.4. Editing Content

To edit web site content:

  1. Select the content to be edited. This can be done in a couple of ways:
    1. Navigate to the content by using links or menus provided by the site.
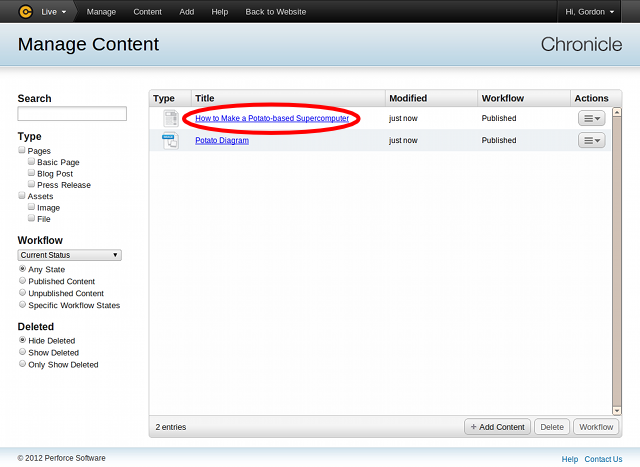
    2. Click Content in the Perforce Chronicle toolbar.

      The Manage Content screen is displayed.
      Scroll through the available content to locate the content entry you wish to edit, then click on the entry's title to display it.
  2. Click Edit in the Chronicle toolbar to begin editing.
  3. Each element of the type of content is identified by dotted borders. Click inside a border and then enter the desired content.
  4. To view or edit the page as it is displayed, click In-Place Mode.
    The use of this mode is described in Section 3.3, “Adding Content”.
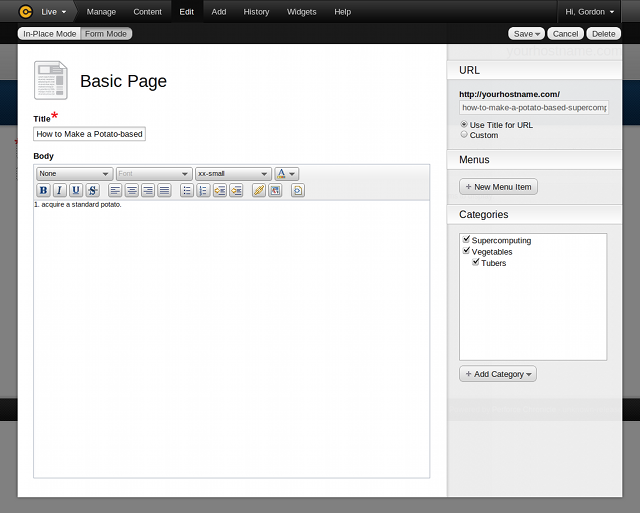
  5. To edit content as a set of fields, click Form Mode.

    The Form Mode editing layer appears:
    Notice that the toolbar buttons URL, Menus and Categories disappear in Form Mode, and their options appear in a sidebar to the right of the element editing area.
  6. If you wish to cancel any changes you have made and leave the content in its original state, click Cancel.
  7. Click Save.
    Your revised content is saved, and editing ends.
[Note] Saving With Workflow

If a workflow is assigned to the type of content you are adding, some additional options may be available to you, including the option to publish the content and/or provide a comment describing why the content was added. These options are presented after you click Save.

You should also be aware that if the workflow assigned to your content includes conditions, those conditions are not evaluated continuously. This means that, for the current release of Chronicle, you may have to save your content and then begin editing again to see new workflow transition options.

Perforce Chronicle - Release: 2012.2/486814