3.3. Adding Content

To add content to your web site:

  1. Click Add in the Perforce Chronicle toolbar.

    The Add Content dialog is displayed, listing the available content types.
  2. Click on a group (Pages or Assets, but there may be others) and then click the type of content that you want to add. Chronicle displays the Add screen for the selected type. Hover your mouse over each of the numbered callouts to highlight the associated area of the screen.
  3. Click within the dotted borders to edit an element. Continue editing elements until your new content entry is complete.
  4. Click Save.
    Your content is added to the web site.
[Note] 
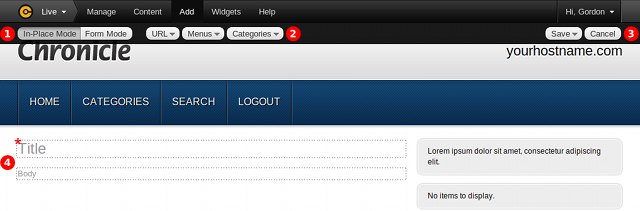
Saving With Workflow

If a workflow is assigned to the type of content you are adding, some additional options may be available to you, including the option to publish the content and/or provide a comment describing why the content was added. These options are presented after you click Save.

3.3.1. Bulk File Addition via Drag-and-Drop

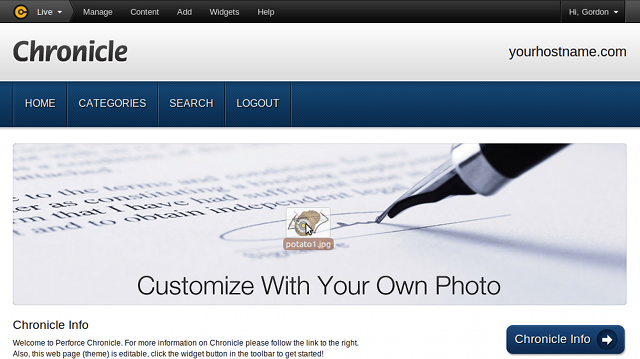
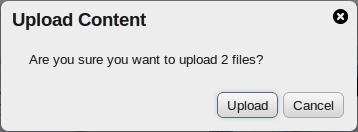
For supported web browsers, Chronicle makes it possible to bulk add file-based content, such as images, PDF or Microsoft Word documents, etc.

  1. Select the files you wish to add to Chronicle:
  2. Drag them over your web browser window:
  3. Release the files. Chronicle displays a confirmation dialog:
  4. Click Upload. The bulk upload begins, and a progress dialog is displayed:
  5. Allow the upload to complete; depending on the size of the files, and the speed of your network connection, it may take some time to finish. Once finished, the progress dialog disappears and your files are now included in Chronicle.

3.3.1.1. Supported Web Browser for Drag-and-Drop File Operations

The following web browsers support drag-and-drop bulk file operations:

  • Google Chrome
  • Apple Safari
  • Mozilla Firefox (4.0+)
Perforce Chronicle - Release: 2012.2/486814