To run Perforce Chronicle on your local machine, you must install a local web server and PHP. (A simple solution for Linux is the LAMP software suite.)
To install Chronicle, you should already have downloaded the installation archive.
Unpack the archive in your local web server root (for example,
/var/www/). After the files are extracted,
follow the steps in the INSTALL.TXT file.
Click . Chronicle performs a series of checks to verify that your system is properly configured and then displays the Setup Requirements screen.
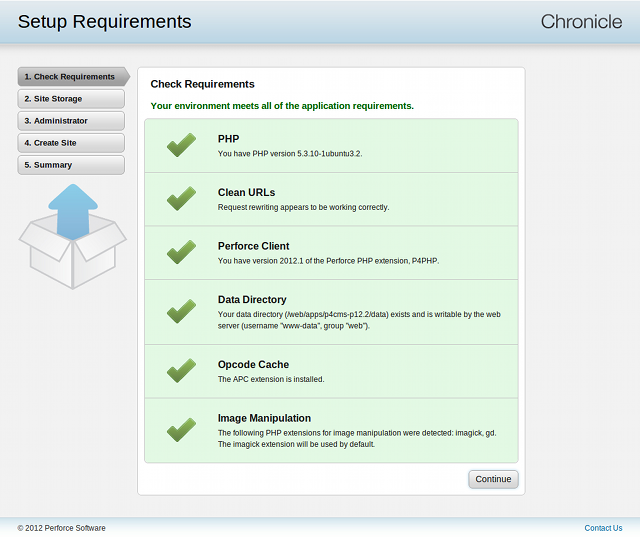
If any problems are reported, a button appears; remedy the problems, and then click the button to check your configuration again. (You might be required to create a data directory, a writable folder that is required to store Chronicle files and the local Perforce server.)
![[Note]](images/note.png) |
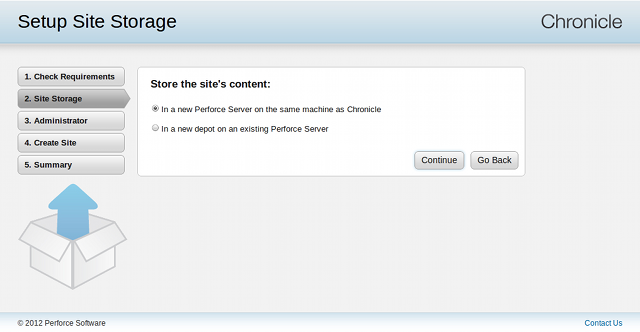
If you choose an existing Perforce Server |
|---|---|
If you intend to store the site's content into an existing Perforce Server, please ensure the "chronicle" user does not already exist. |
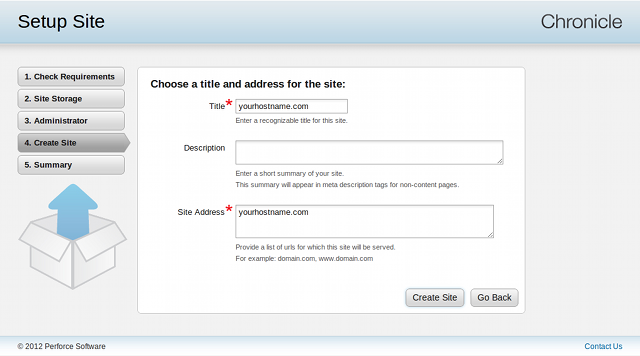
The Site Name is a label for your site's configuration. The Description is an optional summary of your site. The Site Address is a list of host names that Chronicle will respond to for your site. Reasonable values are presented by default, but you will need to ensure that your web server configuration supports any addresses you supply here.
Click . Chronicle displays the Setup Summary screen, containing a summary of the site information.
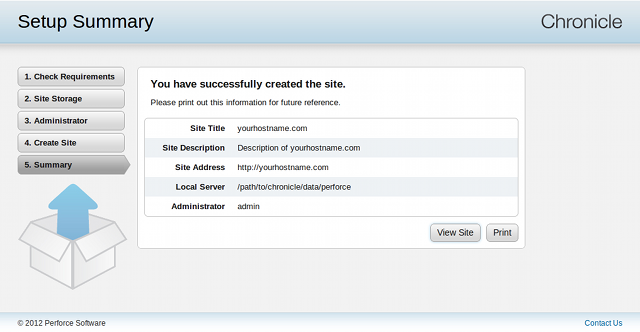
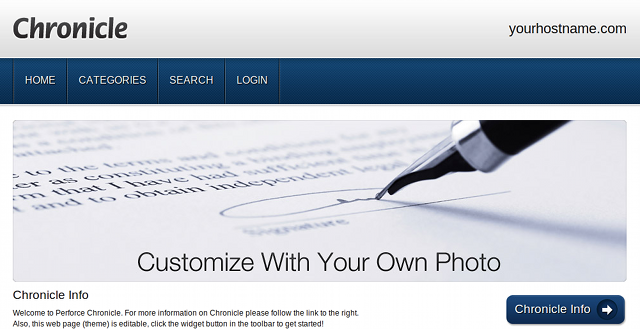


Congratulations! You're ready to start creating a web site. The following sections provide an overview of working with Chronicle and tell you how to create content and a few basic web pages that display the content.